Mary Jensen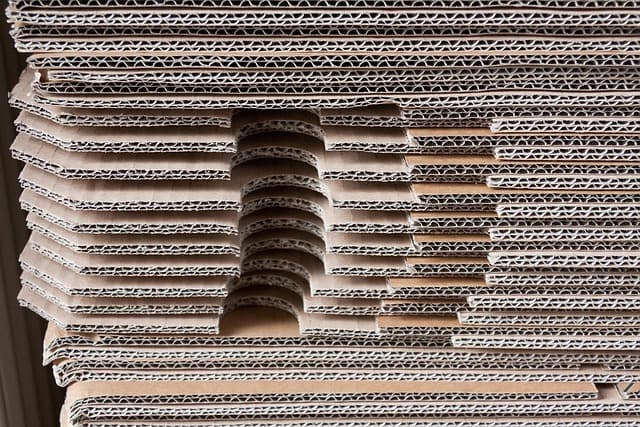
Rabbits are very curious and playful pets that need a cozy and interesting space for rest and entertainment. A cardboard rabbit castle is an excellent option—a safe, inexpensive, and environmentally friendly structure that you can easily make yourself.
In this article, you will learn how to quickly and easily create a rabbit castle from materials you have on hand to delight your furry friend.
What you will need to make a rabbit castle
- Cardboard boxes (preferably thick and large);
- Scissors or a utility knife;
- Ruler and pencil;
- Glue (preferably PVA or a glue gun);
- Paints, markers, or colored paper for decoration (optional);
- Ribbons or strings for decoration (optional).
Step 1. Plan the design of the castle
Before you start, decide on the shape and size of the castle. Small structures with several “rooms,” entrances, and windows are optimal for rabbits.
Approximate plan:
- Main room — “throne room”;
- Tower with a small window;
- Arched entrance;
- Playground on top (area for jumping and playing).
Step 2. Prepare the materials
- Take the boxes apart into flat sheets of cardboard.
- Cut out the castle parts: walls, towers, roof, floors.
- For stability, make the bottom of the castle out of a double layer of cardboard.
Step 3. Cut out the entrances and windows
- Draw and carefully cut out the entrances on the walls of the castle — they should be large enough for a rabbit to pass through freely (approximately 12-15 cm in height and width).
- Make several windows for ventilation and light. The windows can be cut in the form of round or arched openings.
- For decoration, you can cut out the battlements of the castle walls and turrets.
Step 4. Glue the structure together
- Glue the parts of the castle together one by one: first the walls, then the roof and turrets.
- For reliability, use glue and additionally secure the joints with tape (preferably paper or masking tape so that it is safe for the rabbit).
- Make sure the structure is stable and does not wobble.
Step 5. Decorate the castle
- Paint the castle in your pet’s favorite colors (use non-toxic paints).
- You can glue decorative details made of colored paper — flags, coats of arms, flowers.
- Add soft pillows or fabric rugs inside the castle for comfort.
Step 6. Check safety
- Check for sharp edges or protruding staples.
- Make sure the glue and paint are completely dry and safe for animals.
- Place the castle in a quiet and comfortable place where your rabbit can play and rest peacefully.
Helpful tips
- Use several boxes to make a castle with several rooms and passageways.
- Rabbits love to chew cardboard — this is normal, but to make the castle last longer, replace any damaged parts.
- You can add rope ladders, cardboard tunnels, or small houses for variety.
- Make sure the castle is not located in a place that is too damp — cardboard is sensitive to moisture.
Conclusion
Creating a cardboard rabbit castle is a great creative project that does not require a lot of money or time, but will bring a lot of joy to your pet. Such a castle will become a cozy corner for games, rest, and privacy.
Try making it together with your children — it’s a great way to spend time together and teach your little ones how to care for pets.